There is a storm brewing and the power is out right now in my little mountain town. My slippers are on and so is my fireplace. It seems like this is the perfect time to finally get a blog post up. As I am typing I am applying my makeup so that I can take you through the steps of my Autumn + Winter routine. You may want to tweak these steps a little if you are somewhere warm and humid as it is getting chillier by the day and the air is dry in the pacific northwest. So I am customizing my routine accordingly to balance out my skin.
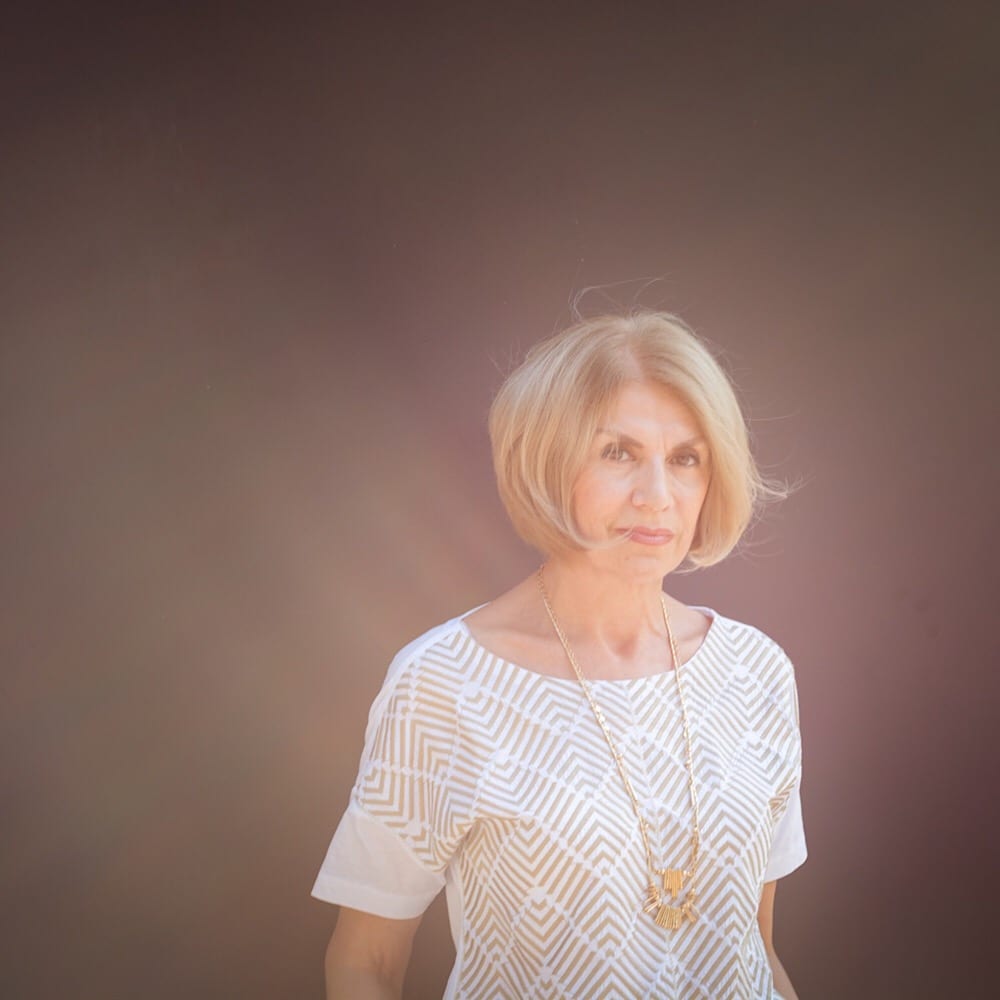
I was researching my favorite look, the no-makeup makeup look, and although there are lots of youtube videos for 20-somethings, not much as far as a mature no-makeup makeup tutorial. So I have included a few below that are quite helpful and make it easy to swap in your healthy makeup and skincare with the suggestions in the tutorial. One reason I want to encourage you to try this look is because my belief is as I get older, the less makeup I wear, the younger I feel. However, you yourself need to customize your own no-makeup makeup look as it is a little different for everyone, depending on what is going on with your skin. For example, undereye darkness, hyperpigmentation, heavy or hooded eyelids, etc. You really have to customize the suggestions to suit you. One thing to keep in mind is to focus on something like your eye colour or your cheekbones, and bring that one thing out as much as you can with your no-makeup look. It’s that effortless, ‘I woke up like this’ creation. I like that it doesn’t have to be perfect liked winged-liner – just pretty.
So here are the steps I take:
1. morning skin prep
First a few drops of RASPBERRY ELIXIR to lift dirt on the surface of my skin. Massage face well, getting the circulation going and draining the puffiness around eyes.
GLACIAL CLAY CLEANSER (once or twice a week mixed with sugar granules for a deep massaging exfoliation) mixed with water until you get a soapy texture and massaged into face. Rinse thoroughly with warm water. If you are suffering from sensitive skin or breakouts, you can apply the GCC like a mask instead of an exfoliating cleanser, to soothe and cleanse skin at the same time. When dry, (10-20 minutes) gently remove with a warm bamboo washcloth. If you are in dry conditions like me, it is helpful to use a facial sauna once a week with the mask to rehydrate and plump up skin. Humidity makes fine lines disappear so if you do not have it in the atmosphere you can create your own. A humidifier at night while sleeping is also helpful.
Once all traces of GCC are removed, you can apply my RASPBERRY ELIXIR onto clean, bare skin and COCONUT CREAM, CUSTOM CACAO TAN, or my CARAMEL TAN over top. All of the above preps the skin for makeup.
2. coverage
COCONUT BB CREAM if you have it will work wonders on evening out any unevenness or hyperpigmentation. It is also s savior if your skin is feeling really tight and dry. For those with a lot of redness or hyperpigmentation on neck and chest, you can mix the CBBC with ELIXIR or COCONUT CREAM and bring coverage all the way to upper chest. If you have coconut allergies or just prefer the MANGO BB BALM or DEWY HDD, start with that one. If you have both, you can layer first the COCONUT BB CREAM and then MANGO BB BALM or DEWY HDD over top where more coverage is needed. Just custom building coverage only where more is needed, helps maintain that no-makeup look.
CONCEALING HDD CREAM mixed with your favorite brightener (raw pigment if you are medium to dark skin tone) can now be applied to brighten the inside areas of face like around the eyes, outlining nose, mouth and jaw where darkness can occur.
Now you will notice that your skin is so hydrated with raw plant oils and butters, that it is a little sticky to the touch. To create longevity of your makeup you want to lightly mattify and sandwich all that nourishment in to create a see-through, breathable, and protective daytime mask. This can be achieved with my BIO-FOUNDATION, colorless matte, or banana matte, which are all made of a blend of food grade clays and herbs. You do not want to go too heavy with this application. For the most control of how much I am applying to skin, I prefer sprinkLing granules into the palm of one hand and pressing my fingers into palm to pick up product and then pressing and blending the application into skin with fingers. This prevents product waste and also allows you to custom build your coverage where more mattifying is needed. Any remainder of product in your palm can be scraped back into your container! I also often bring the remainder of product down the neck to upper chest so there is a fluent skin tone from forehead to chest.
Now that you have used a powder you can go back to a cream to apply colour. By creating a sequence of cream, powder, cream, powder, this helps makeup to stay put and also makes it more water-resistant. This also prevents that ‘mask-like look’ to your makeup.
At this point, if you feel like your undereye area looks a little crepey or dry, pat a touch of COCONUT CREAM or CUSTOM TRANSDERMAL NUTRITION BALM in clear and just let it sit. If you have heard or tried the powder, under-eye ‘baking’, this is the same thing but with cream instead of powder.
3. colour
Apply the cream colour you use as a contour. For me it is ILLUMINATING ALOE CREAM TINT as it is the more matte of the two tints aloe and poppy. I apply it to my outer cheekbones, temples, bridge of nose, and eyelid crease. Lightly blend and follow with the loose tint version using WORK IT OUT BRUSH to create longevity. Follow with preferred cream tints for blush and eyeshadow and brow tint. Proper brushes are really important to create the most precision and blending. Just message me if you need instruction on the best brushes to use. Whenever I can I use my fingers, like with blush, contour, and eyeshadow, it warms up the product which results in quicker placement and blending.
Even though I am creating a no-makeup look, because my focus point is eye colour usually, I prefer a light smokey eye with colours that are on the opposite side of the color wheel from my eye colour so that my eyes really POP. For example, my eyes are between brown and hazel so I apply a mix of wildflower, illuminating, and a hurt feelings balm for liner and brows. I blend everything well and apply a little more colour close to lashes. As far as lower lashes, I avoid the balm except for the inner rim or waterline. You do not want it to move and create a darkness under the eye. The cream tints have the powder finish that is needed for undereye shadow. You can even top it with matching loose tint to mattify even more. If it is for evening makeup I apply a little more than for daytime. Then I heat up my shu eumera eyelash curler with my blowdryer, curl my lashes, and apply EARTHLAB MASCARA. If I want that fat, wet lash look, I tap a little clear balm to the ends of the lashes. Using the side of THE ICING ON THE CAKE BRUSH I apply HURT FEELINGS balm on the inner rim or water line of upper and lower lashes for the finishing touch on my light smokey eye.
4. finishing touches
I like to add a little extra colour to my cheeks and forehead if needed when I apply my lip colour to balance everything out. I like to use EMPATHY CUSTOM TRANSDERMAL NUTRITION BALM on my lips for a little nude colour and if I feel like gloss, either CUSTOM TRANSDERMAL NUTRITION or PLUMP + SHINE ORIGINAL LIP GLACE layered over top. Lastly, I take a little coconut cream and blend it on the back of my hand to warm it up, before transferring a few taps to my upper cheekbones and anywhere I would like a little luminosity. Most lines achieve this glow with mica but to me, for mature looks, this is a more natural-looking option.
I also like to use a little of the white brightener (yellow or deep yellow if you are medium to dark skin tone) just under the outer brow and a dot on the inside corner of each eye and lightly blend.
Here are some fun mature no makeup makeup tutorials also:
