
I have always liked an ultra-natural makeup look but until the demi method came along, I thought I was the only one. I didn’t enjoy makeup school as much as I thought I would because we barely touched on ‘natural, every day makeup’ that actually looks natural away from the camera. What can look natural on daytime tv and in photoshoots can still be incredibly thick, textured makeup in real life. The bright lights erase any type of texture you would normally see in real life. What I love about the demi method is it is best done in natural lighting, it celebrates each unique beauty, and every artist does it in their own way.
demi is focused more on light and shadow and a ‘bare skin’ look that is free of heavy makeup textures
This second makeup tutorial below is not something I am totally against, but it’s one of those techniques that can look better on social media than in real life. Also, a large percentage of my clients who have texture to their skin, do not want to add to that texture which this below technique will do. Most importantly, they want and need to keep their makeup routine clean and simple. However, instead of just forgoing foundation and concealer all together, which is what the demi method is mainly about, I still encourage my clients to find a coverage that works with their skin tone and their skin texture. My coverage options merge makeup and skincare, so they will create an airy light, natural coverage without the usual heavy texture, and the coverage ingredients are superfoods for the skin so they will nourish, nurture, and protect. It’s like wearing a transparent superfood face mask on your skin all day. If I am only applying a product because it provides coverage and yet there is really heavy, cakey texture that goes along with that coverage, I will skip it. Until I created my own products, I never wore foundation except when it was forcibly applied to my skin by other artists in makeup school.
makeup application that is not demi
the demi application technique
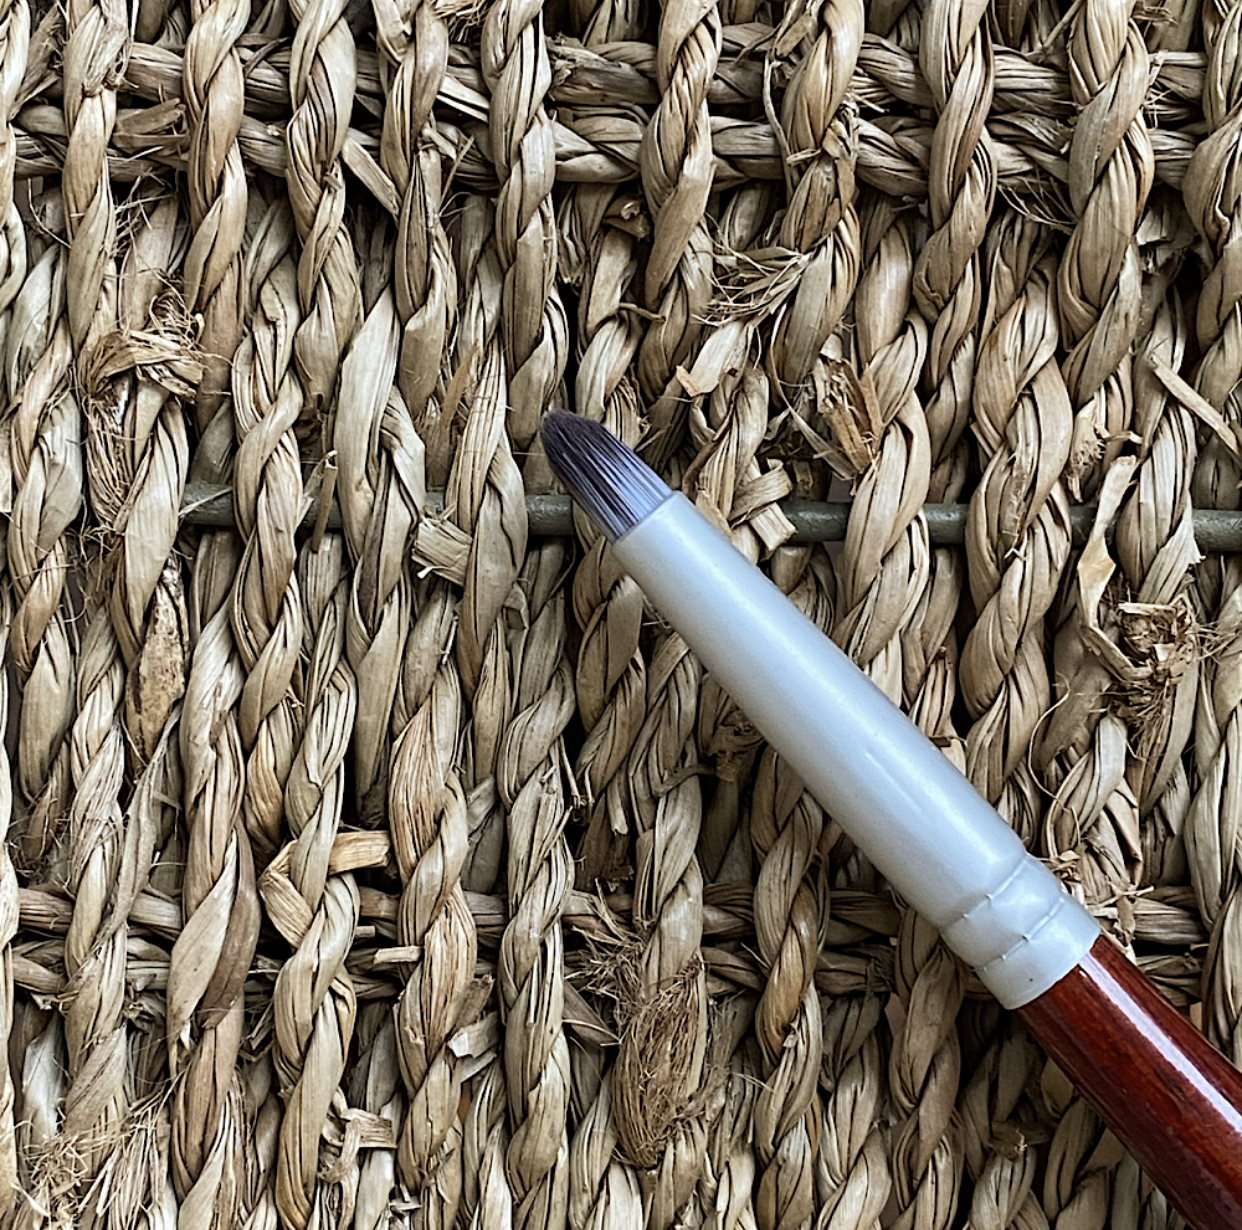
brushes I recommend for concealing small areas
For very teeny tiny spots like broken capillaries and breakouts, I would recommend the ‘eraser’ brush. It is feather light so that you do not deposit too much product. For aun spots that are around the size of a freckle or a little larger, my ‘eyes have it’ brush is perfect! Any spots that are larger, I find the best tool to achieve the most natural result and also, the most time-saving, is a clean finger. In the same way you see someone gently stippling the skin with a beauty blender, try incorporating your fingers, like you are finger painting. The warmth of your body heat gently warms up the plant butters in my products and that results in very little blending. If you have long nails that make using a finger tricky, try a blending sponge or a brush to experiment with each and find out which works best for you. ‘Brush with greatness‘ brush is a little larger than ‘the eyes have it’. My ‘smooth things over‘ brush is a great medium sized brush for stippling larger areas like melasma and rosacea. If I were to only choose one brush to start with it would be ‘the eyes have it‘ brush:
If you love this technique but do not know where to start or what products or shades you need, feel free to reach out through my online personalized consultation. The cost is 100% redeemable in samples and full size products and you can select ‘demi makeup‘ so that I know that that is the technique you are interested in and would like help with choosing the perfect colour correctors for your unique skin tone.
3 most important things about demi natural {in my opinion}
- 100% natural lighting during demi application
- finding the perfect shades for your skin tone to instantly cancel out darkness/redness/rudiness
- a broad range of shades (with just a few products) so that you can mix them to achieve varying levels of colour
If you are okay mostly on your own but appreciate a few tips and tricks here and there, follow me on social media and make sure you subscribe to this blog so you are notified of future posts about the demi method. I also have a ‘cheat sheet’ on my cream brighteners page if you are trying to figure out what colour cancels out another. I hope this inspires you to celebrate your unique characteristics and to have fun with your makeup again! I will leave you with this video which explains a few more helpful fine details when applying demi makeup: