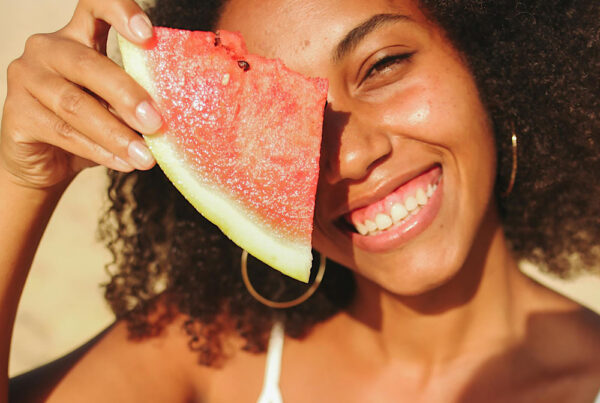
I recently took a trip home to visit my mom. Being that she uses only my makeup and skincare and I have been doing her makeup for years, I can’t help taking it personally when she says she thinks she is looking ‘old’. I decided it was probably time for a little summer refresher course on the order of her makeup application. This would also let me know if she was forgetting a step or needing a new shade. What I discovered was that she was missing two or three important steps and her order of application was mixed up (sorry to be the makeup police, Mom). When we did her makeup together it looked completely different, much more radiant and glowy. Her whole face was much brighter.
I thought to myself, if my own mother is getting confused, maybe a few of you could use a refresher also! This order of application is not the only way to apply your makeup but for those with ruddy complexions, hyperpigmentation, and a dullness to their skin, I have found this to work the best for me and on my clients over the past twenty years.
Order of application is very important. First allow me to list it clearly and simply. You will see I mention the neck. It is the first place we age so it needs to be protected just as much as the face. You may want to take a screenshot so you can review it from your phone before going about your morning beauty routine:
COVERAGE
- Raspberry Elixir + Coconut Cream face and neck
- BB Cream using A FRESH START BRUSH face and neck
- Dewy HDD to spot cover hyperpigmentation using SMOOTH THINGS OVER BRUSH
- Bio-Foundation lightly pressed all over using PLUSH KABUKI BRUSH face and neck
- Concealing HDD around eyes, nose, and mouth with NEED A LIFT BRUSH
- Brightener around eyes, blending into upper and lower base of lashes and inner corners of eyes
COLOUR
I like to first apply a little Almond Cocoa BB Cream anywhere I want extra contouring but this is not a necessity.
- Loose Tint to cheekbones, bridge of nose, and forehead, blending in to full perimeter of face WORK IT OUT BRUSH
- Aloe Cream Tints/ Bio-Cocoa Balms on apple of cheeks {fullest part} & eyelids, and brows, and lips MULTIPLE BRUSHES
- Transdermal lip gloss on lips and a little rolled onto upper cheekbones for a sheen, blend lightly
When I went to makeup school for film, I learned how to cover bruising, scarring, and tattoos. So as I worked to create each product in this line, I took that knowledge and applied it to hyperpigmentation or sunspots, scarring, and redness to create maximum coverage but also the most natural effect. I have had clients come to me with severe scarring after being in a horrific car accident, third degree facial burns from a kitchen accident, the common ‘pregnancy mask’, and also cystic acne sufferers. The all-to-familiar request I would hear over and over is, “I just want to feel like myself again.” Whether you have extreme rosacea or just a few sunspots you would like to make disappear, the above steps will do just that and each step and the order of application is equally important. I have created each product with a specific purpose from the others. If you need any other makeup tips, just email [email protected]!