In continuation of my first post a few weeks ago about mature makeup, I want to explain the final steps of being able to create a natural look yourself. Even though I call this mature makeup, it works for all ages. The brightening is really important! If you did not read PART I, I highly recommend it before reading this post.
So if you have ever been told you look like you are mad or sad when you are neither, this look can be caused by the darkening or sallowness around the eyes, nose, and especially the mouth area. Brightening doesn’t just erase dark circles, it actually puts a smile on your face.
CONCEALING HDD
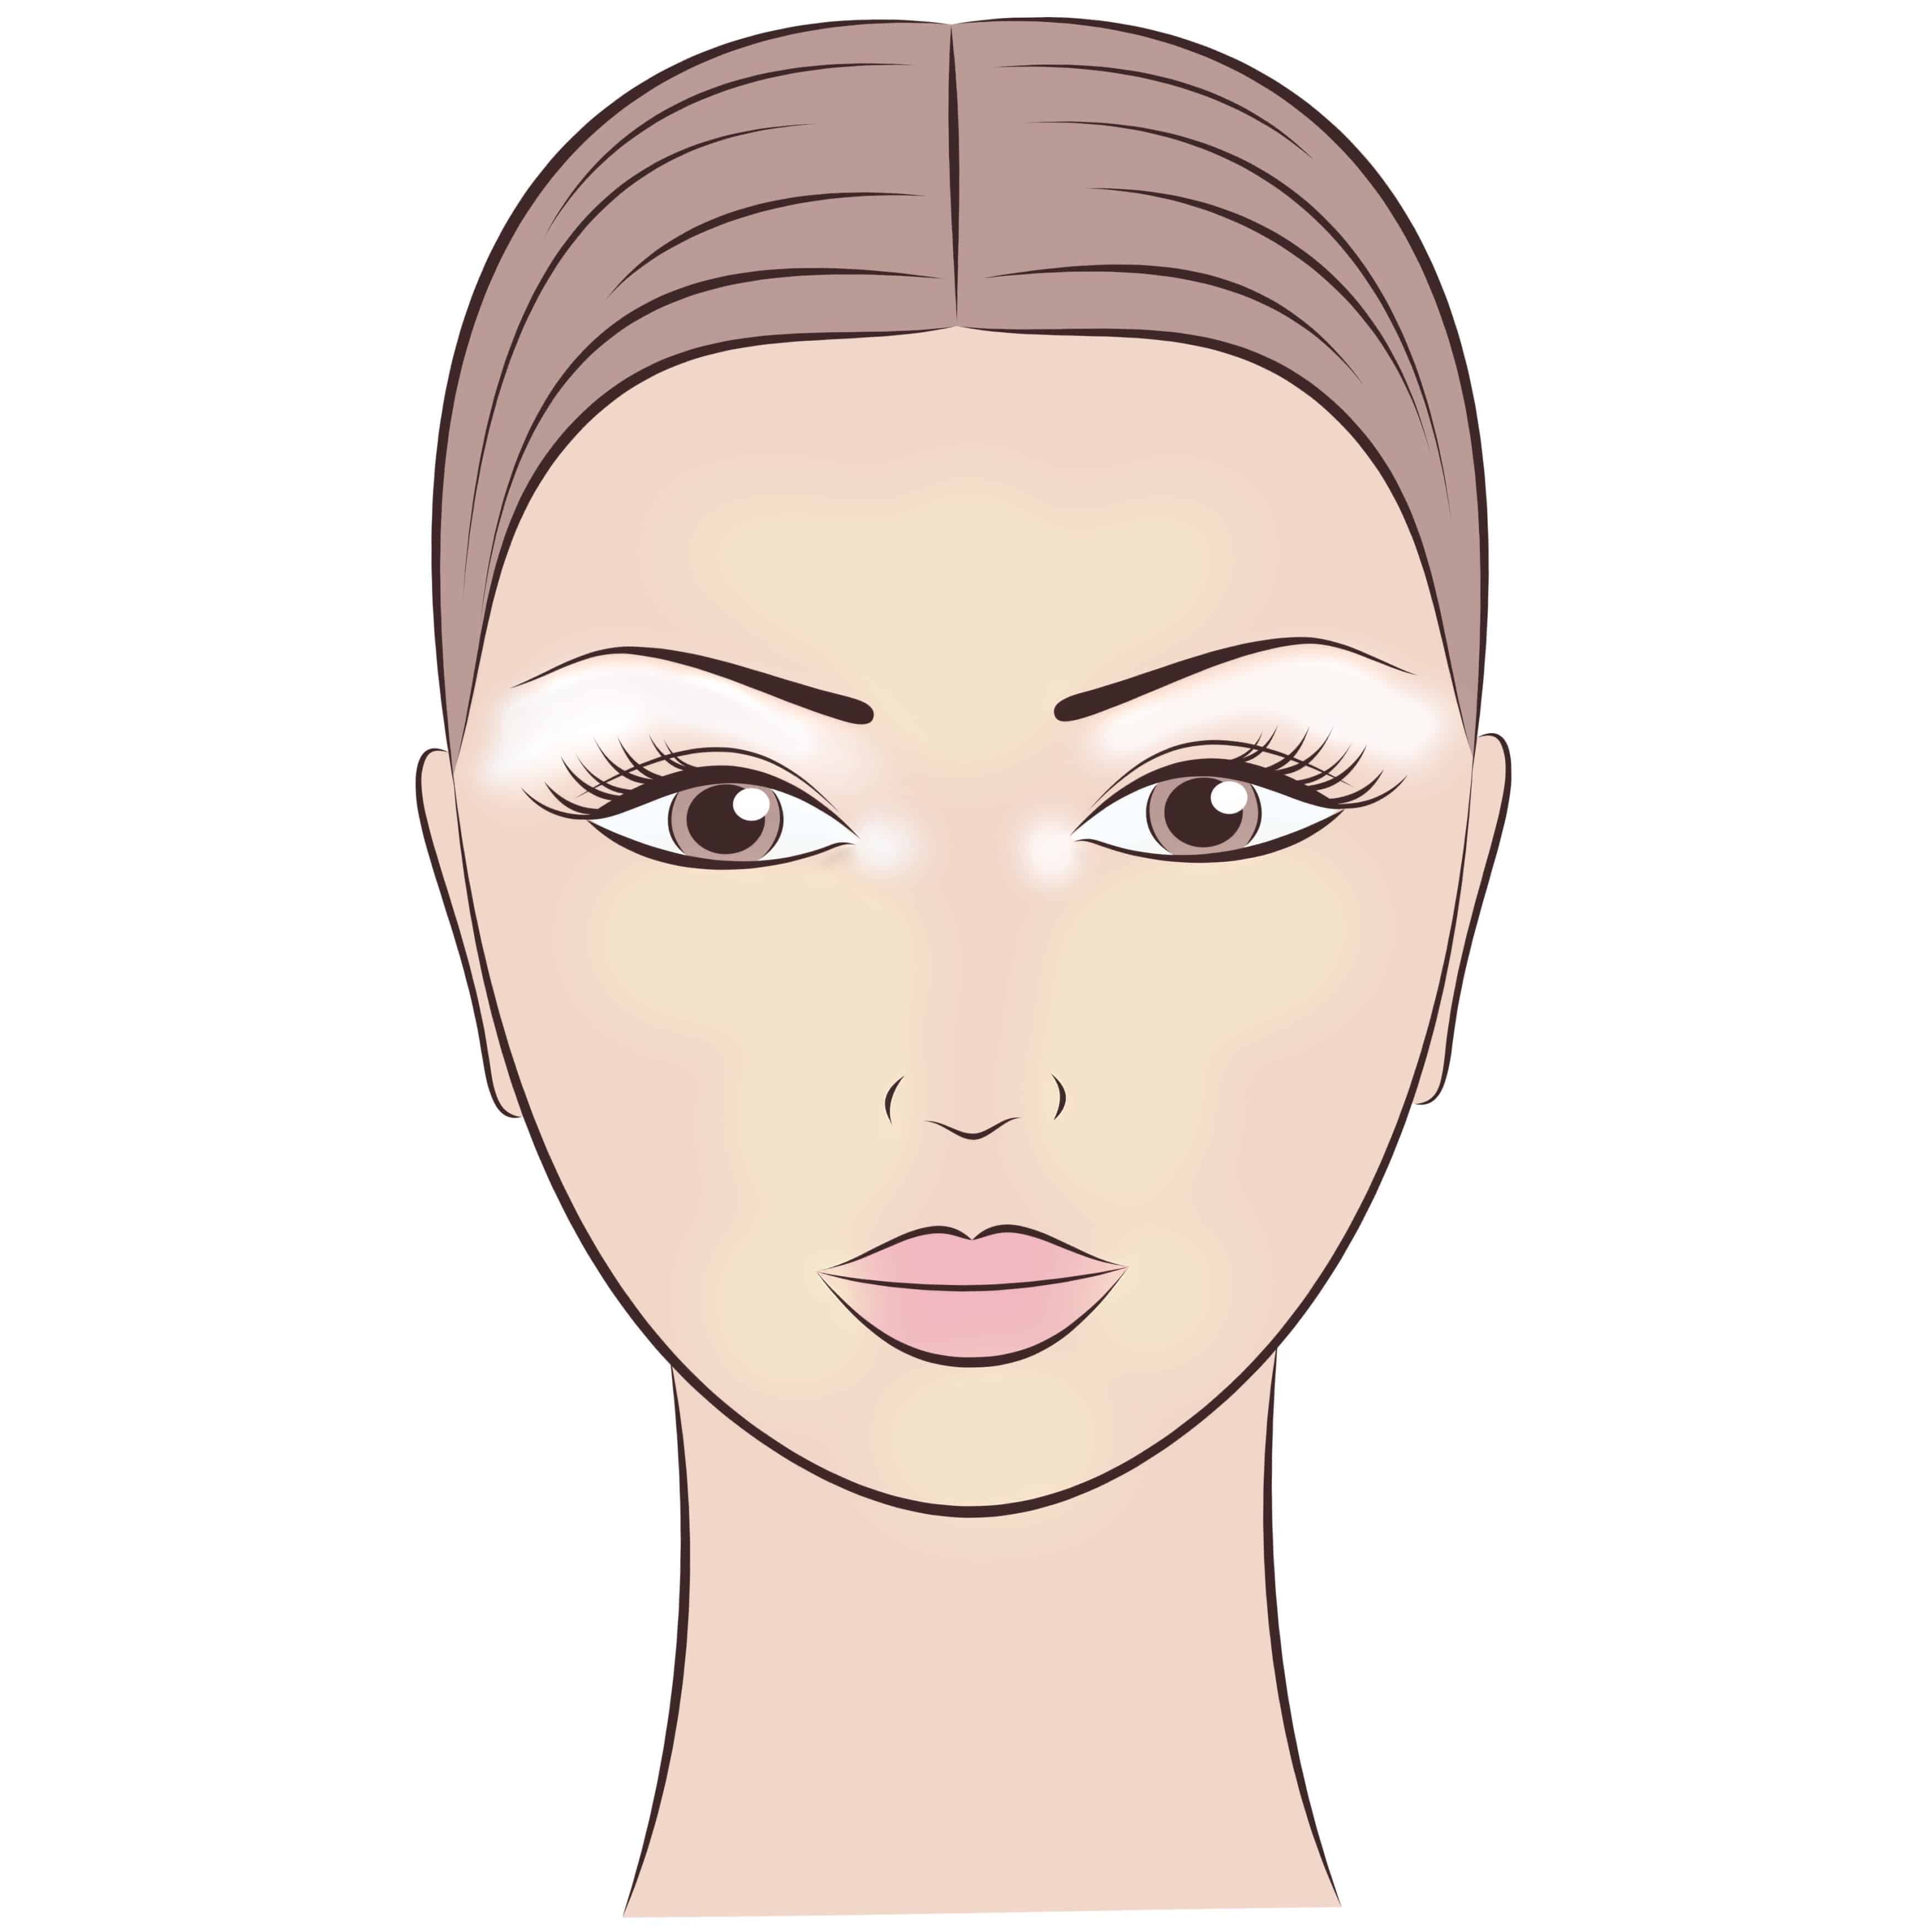
You can blend your Concealing HDD with your Yellow/Deep Yellow Brightener or just use it on its own. I have roughly sketched the area of placement but blending this application out is really important. The best brush to use is our A FRESH START BRUSH. Hyperpigmentation spots can be custom covered with our NEED A LIFT BRUSH. If you have a longer face, you may want to add a little extra brightening to the outer jaw line also. A touch of concealer just outside of the lip line creates fuller lips! Being that we get different amounts of sleep from day to day, it is helpful to take a step back from the mirror and observe if you need to add a little more or less coverage anywhere. Many clients have written me over the years expressing that after wearing our coverage every day, over time less makeup is needed. I think this has a lot to do with the skin being able to breathe through the makeup. It returns to its natural coloring and is able to heal itself.
BROWS
Once you have applied brightening and coverage, it is important to commit a good slice of your makeup application time to creating strong, lush brows. They are the frame of the painting, so to speak! If you need a brow lesson I recommend going to a professional artist and taking photos of your brows after so you can review as you practice by yourself. Every pair of brows is unique. Your tool is SO important. Our DEFINING MOMENT BRUSH is a must-have. Make sure your brow tint shade is not too dark or your brows will look thin and harsh. A lot of my clients match Martini Aloe Cream Tint to a T. If you are a dark brunette, Vintage Aloe Cream Tint is more suitable. If your hair is black, a light application of Marble will work best. Strong brows really make a statement. I am personally obsessed with them. It is the fastest way to create a clean, polished look.
CONTOUR
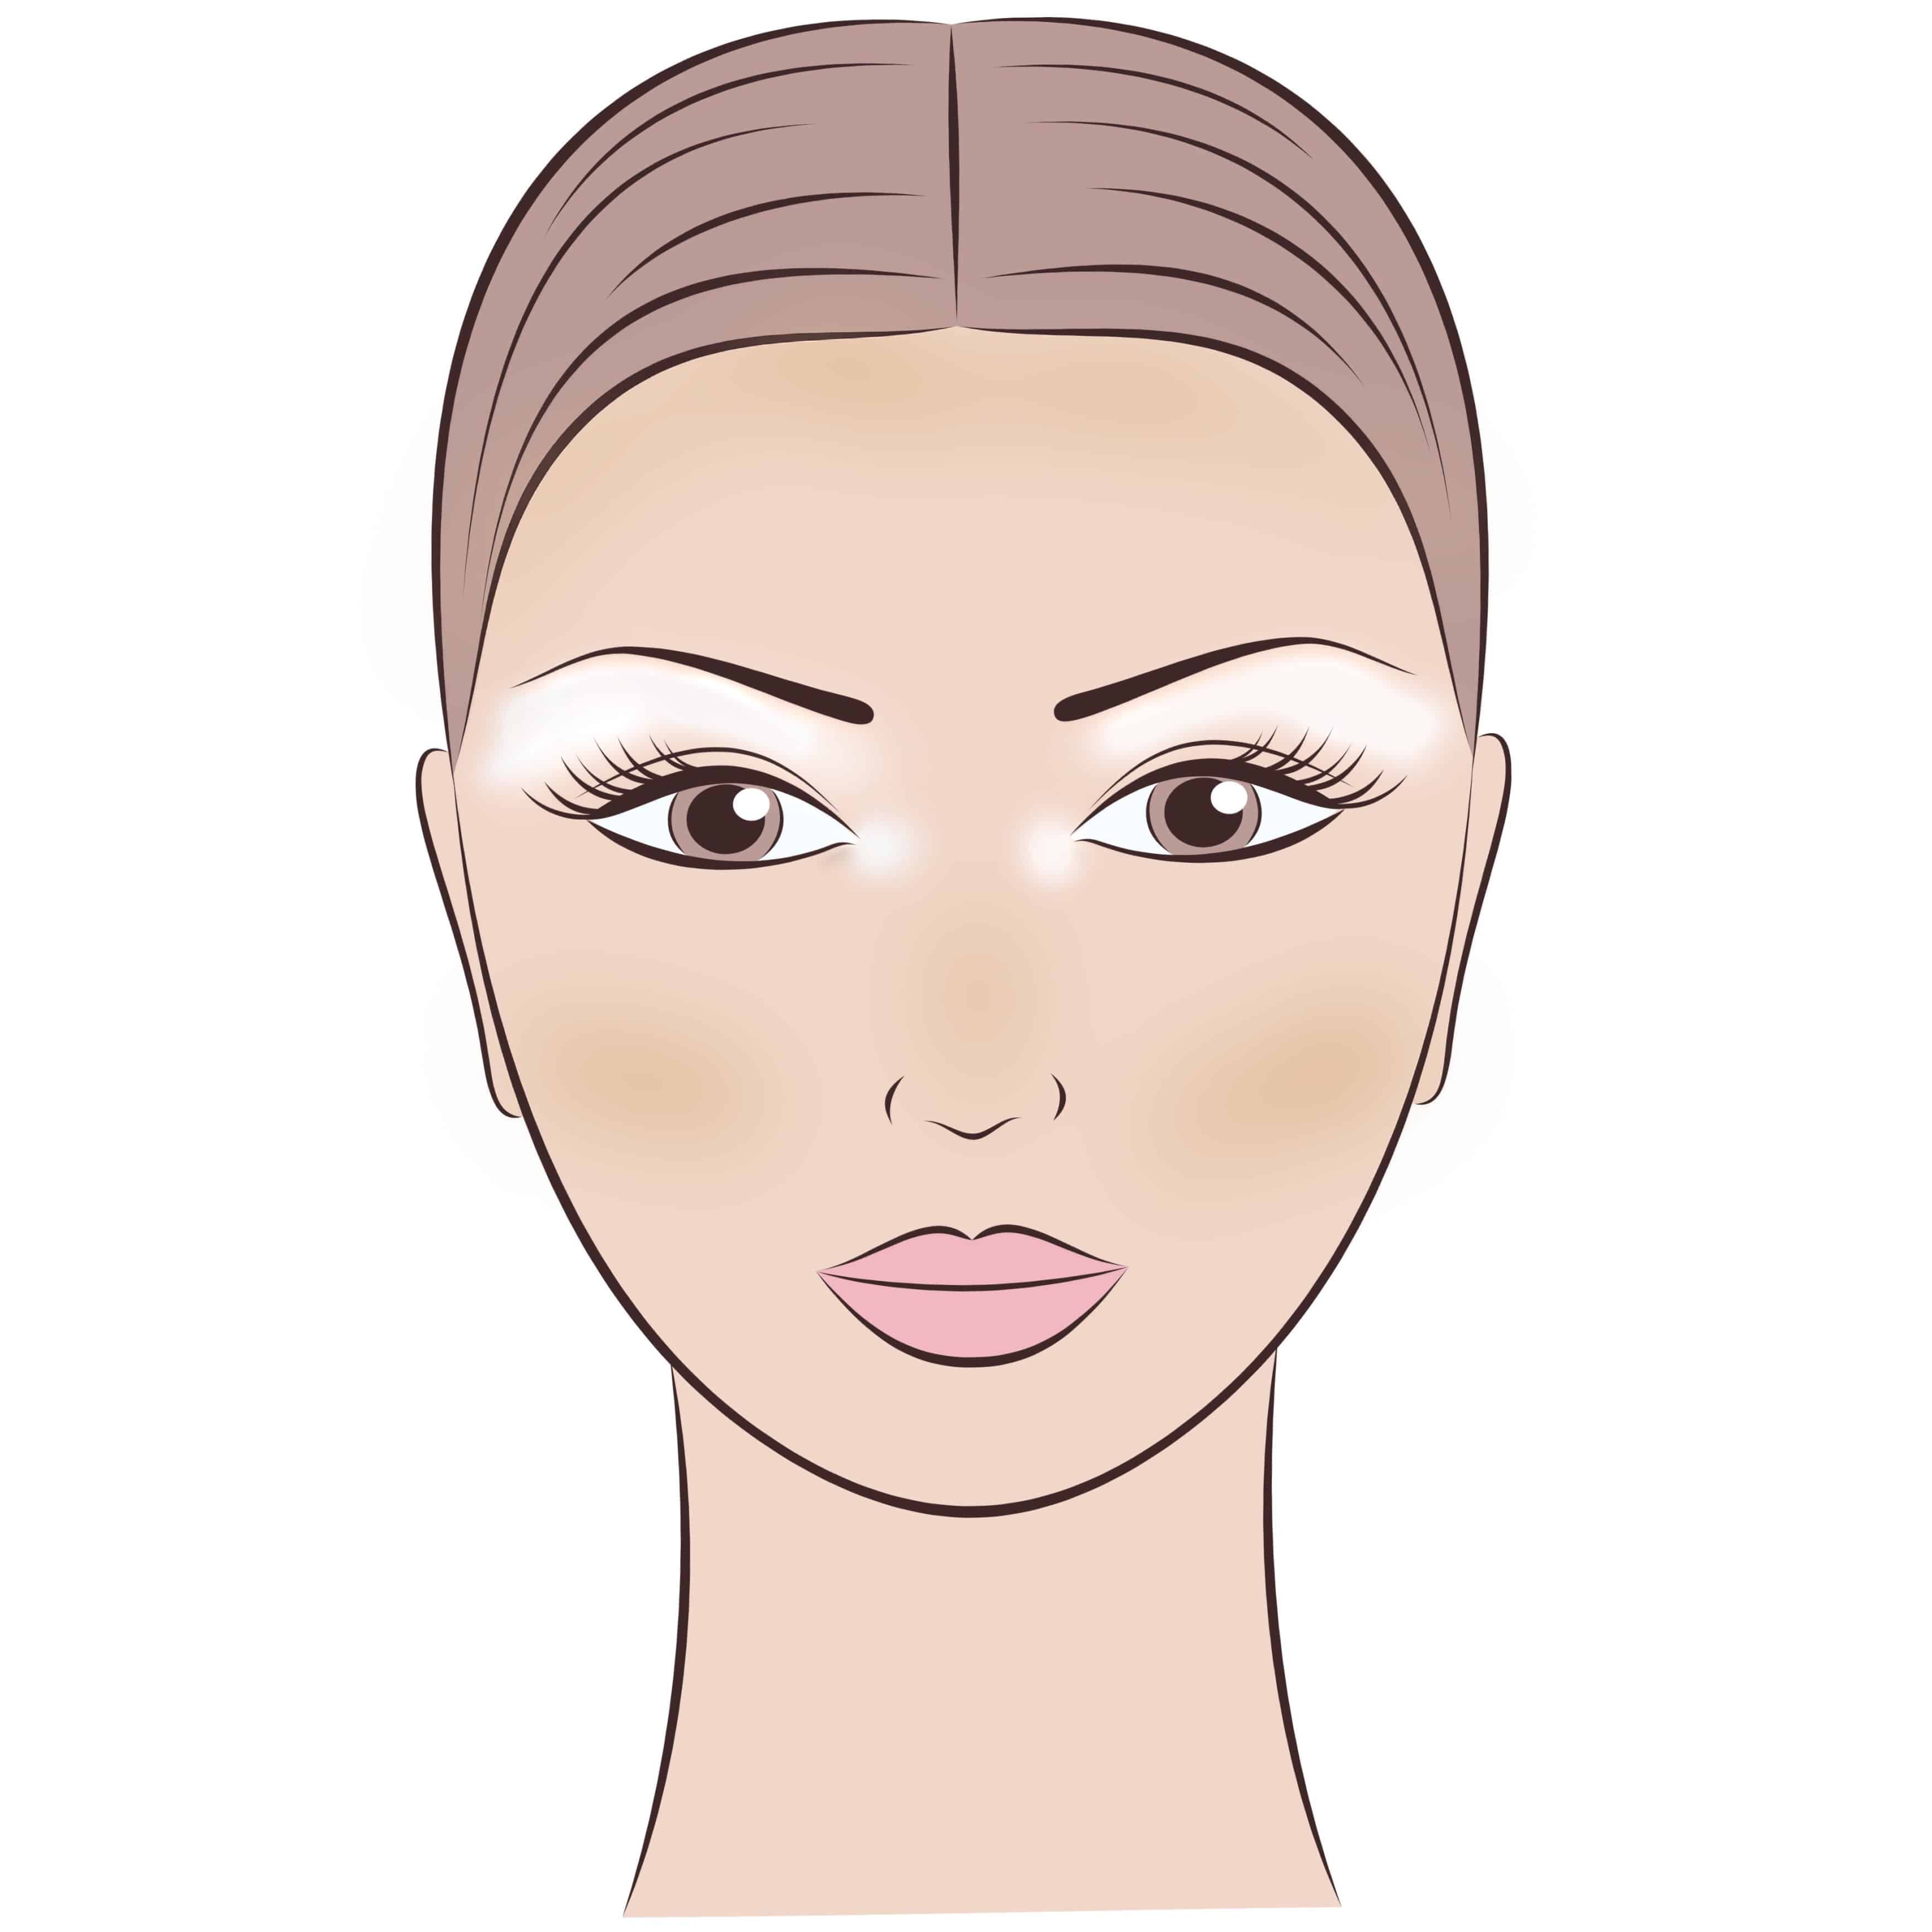
If you are noticing that you look a little washed out and think that maybe your coverage is too light, try this step first and see if it helps before you change your coverage shade. Using our WORK IT OUT BRUSH, apply a light application of our ALOE LOOSE TINT {ILLUMINATING if you are light to medium or HENNA if you are medium to dark in skin tone} just below the cheek bones, a touch on both sides of nose, and on the upper forehead. Blend out well towards your hairline. If you accidentally go too heavy and look like you jumped in a mud puddle, just dilute the color with a little BIO-FOUNDATION.
BLUSH
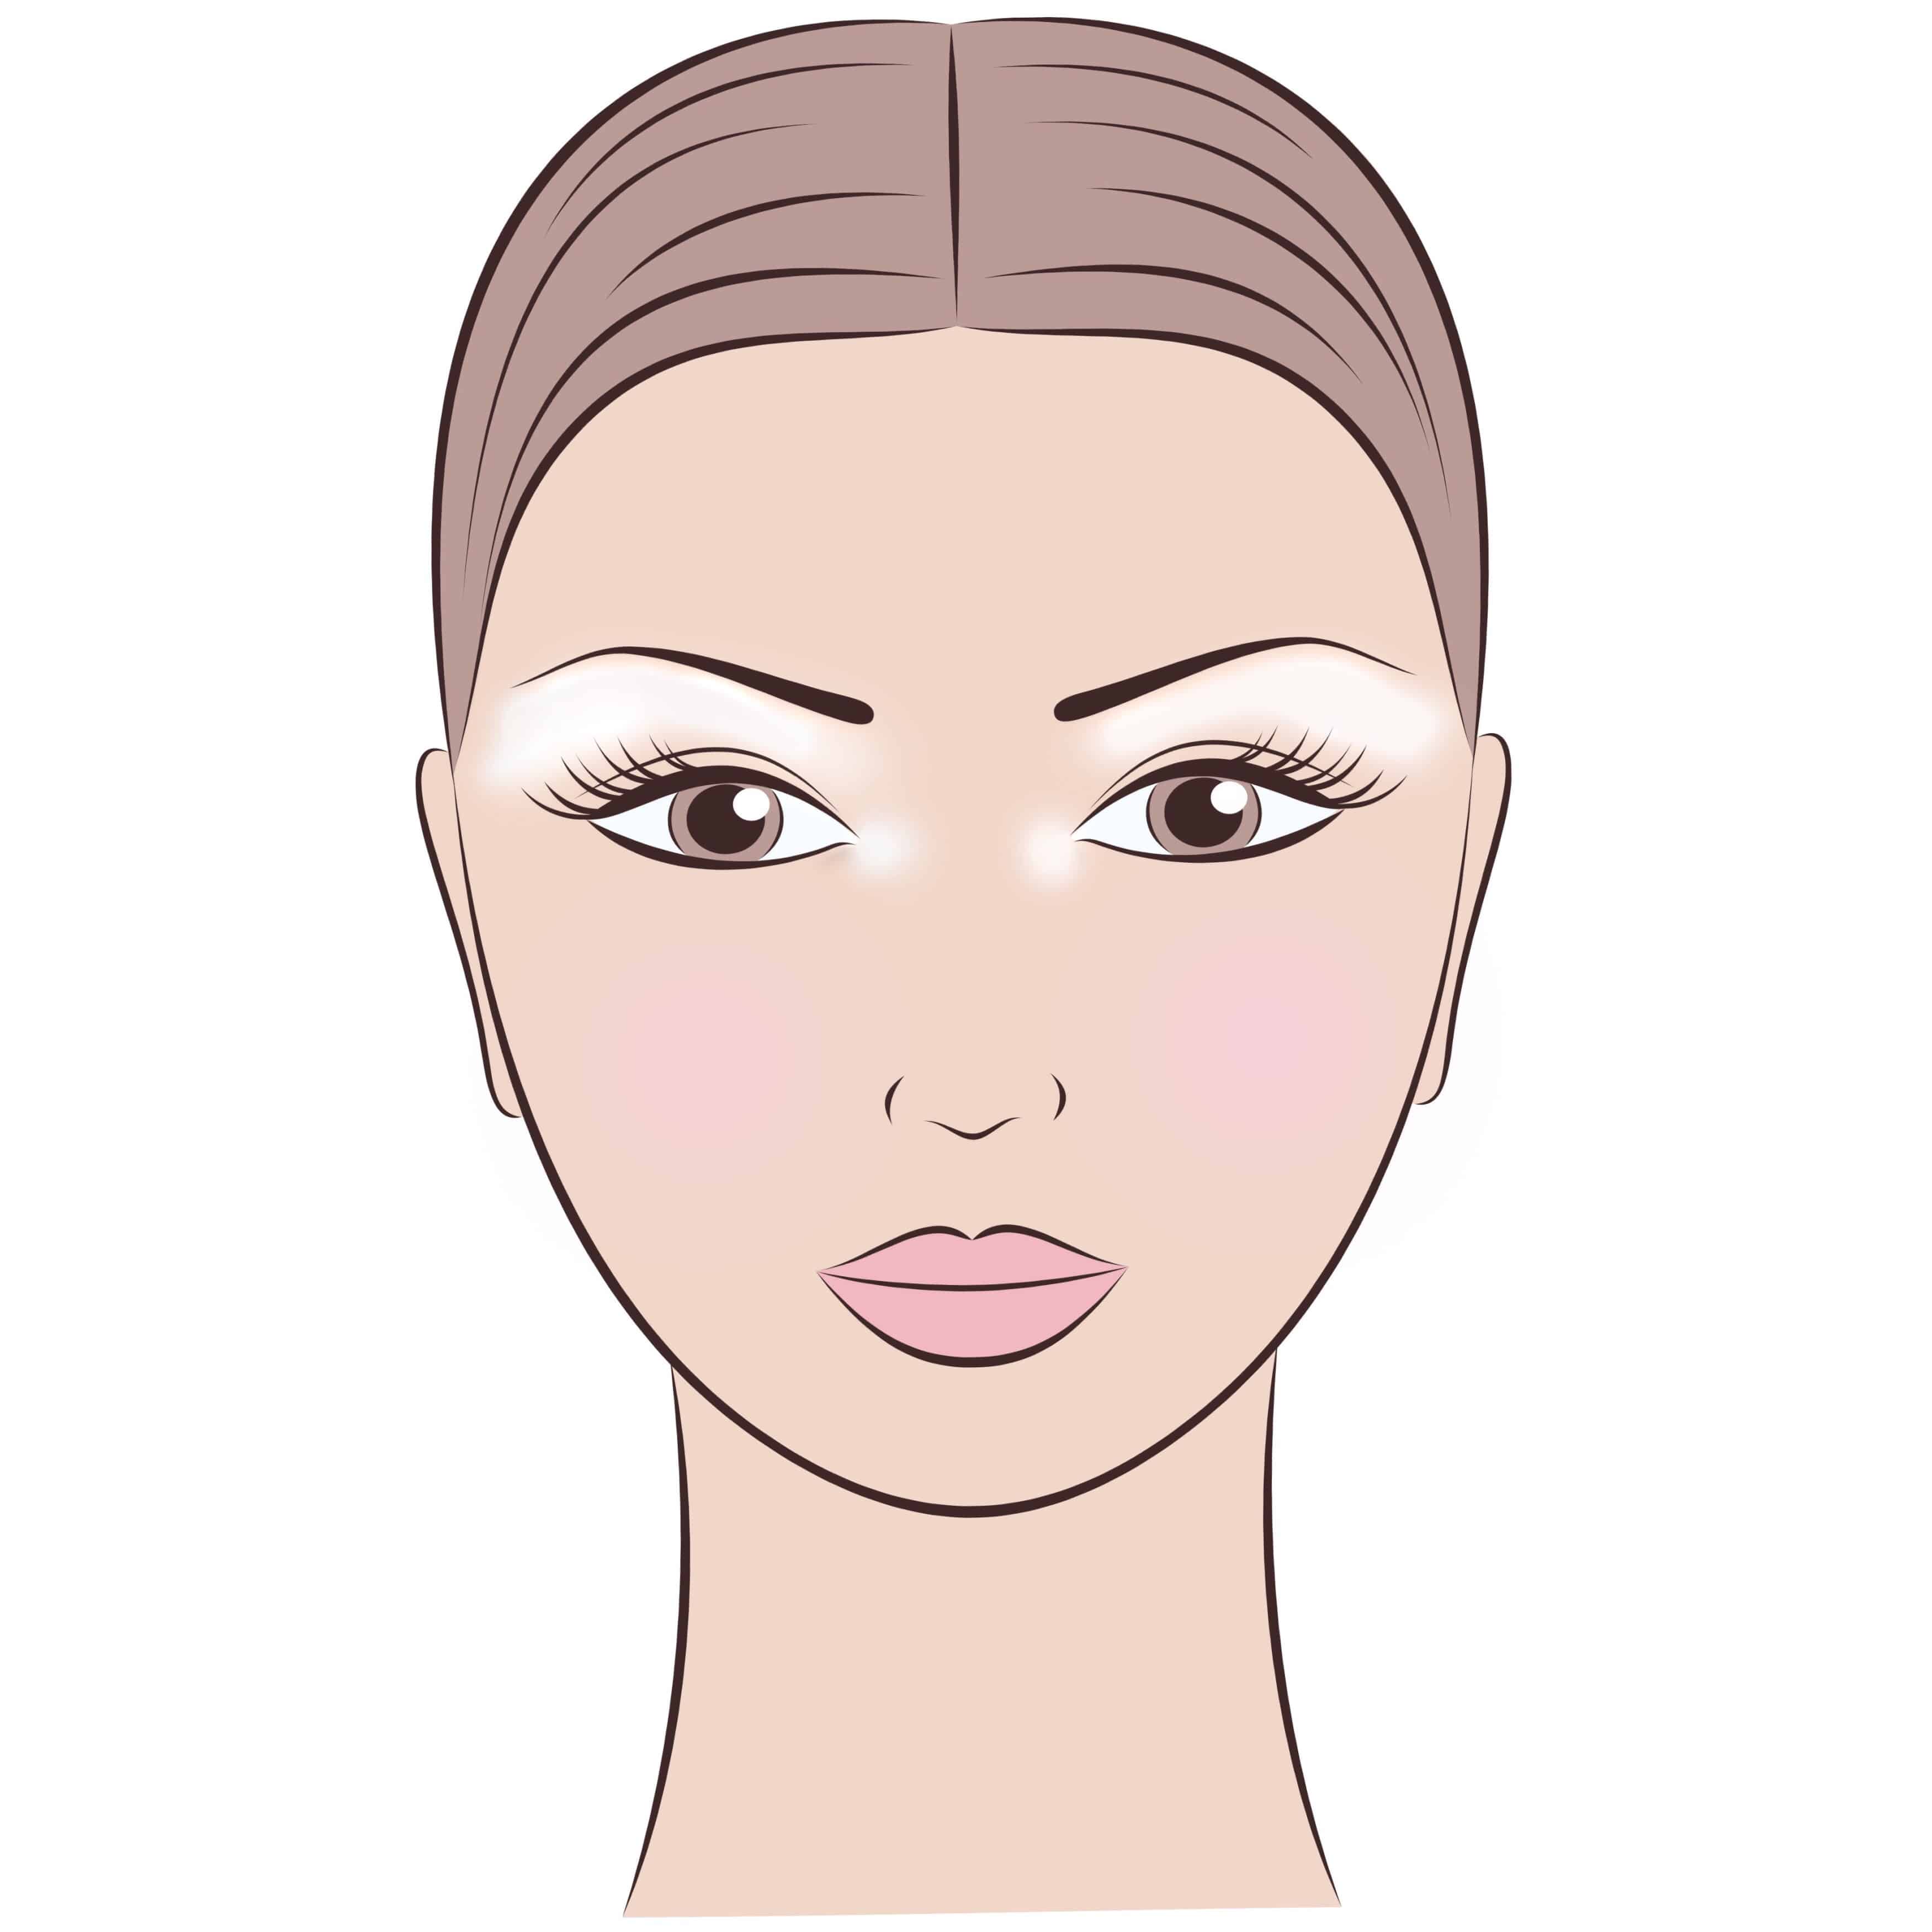
Two common mistakes I find with my mature clients is that they do not wear enough colour on their cheeks AND also that they wear their blush too low. This can actually pull the face down. If you are properly placing it on your cheek it will give a huge lift to the face and a flushed cheek is healthy looking. When you smile you can see the fullest part of your cheeks better. You want to keep the colour right on the fullest part and above. Apply with our WORK IT OUT BRUSH or with fingers and apply like you are tracing a cinnamon bun, starting in the center. Again, blend out to create the most natural look.
EYES, LIPS & A GLOW
Whatever ALOE CREAM TINT works for your brows quite often seems to work as a wash of color on eyes and as a natural lip liner. I always apply BRIGHTENER on eyelids first so that the color over it is brighter and smooth. BRUSH WITH GREATNESS is best for applying your eye shadow and THE EYES HAVE IT or THE ICING ON THE CAKE BRUSH works for liner. Using our ICING ON THE CAKE BRUSH lightly line lips with MARTINI or VINTAGE ALOE CREAM TINT. Apply your favorite BIO-COCOA BALM or ALOE CREAM TINT over top. Last but not least, apply a touch of COCONUT CREAM to upper cheekbones. This creates a beautiful glow that smooths fine lines and lasts all day. Have fun playing! Keep in mind, it’s not about your makeup looking perfect, just soft and pretty.